Getting Started with OAuth2
You’ve read all about Express Gateway, now we’re going to walk through some very important aspects of how to build faster and more sustainably.
Did you know that Express Gateway gives you the ability to spin up your own OAuth2 provider from the command line? In case you’re new to OAuth2, one key aspect is that OAuth2 enables your users to delegate API endpoints to various apps via scopes. In this getting started guide, you’ll learn how to implement OAuth2 in Express Gateway.
First, How to Configure the API Gateway
To get started, you will need to create a new gateway using the Express Gateway generator. So, install the express-gateway npm module…
$ npm i -g express-gateway
… and then create a new gateway using eg gateway create.
$ eg gateway create
? What's the name of your Express Gateway? oauth
? Where would you like to install your Express Gateway? oauth
? What type of Express Gateway do you want to create? Getting Started with Express Gateway
   create package.json
   create server.js
   create config/gateway.config.yml
   create config/models/applications.js
   create config/models/credentials.js
   create config/models/users.js
   create config/system.config.yml
To start Express Gateway instance you scaffolded in the oauth directory, run the following commands:
$ cd oauth && npm start
Then, edit the config/gateway.config.yml file and enable OAuth2 for the default pipeline as shown below.
http:
  port: 8080
admin:
  port: 9876
  hostname: localhost
apiEndpoints:
  api:
    host: localhost
    paths: '/ip'
serviceEndpoints:
  httpbin:
    url: 'https://httpbin.org'
policies:
  - basic-auth
  - cors
  - expression
  - key-auth
  - log
  - oauth2
  - proxy
  - rate-limit
pipelines:
  - name: default
    apiEndpoints:
      - api
    policies:
      # The below enables oauth for the localhost:8080/ip endpoint
      - oauth2:
      - proxy:
          - action:
              serviceEndpoint: httpbin
              changeOrigin: true
Once you turn on OAuth2, you should see an ‘Unauthorized’ error when you visit http://localhost:8080/ip. You need to restart the server for config changes to take effect, so if you ran npm start be sure to kill the process and then re-run npm start.
The next step is to create a new Express Gateway user.
Users and applications have a one-to-many relationship, so you must create a user before you create an application.
Make sure you do not restart the Express Gateway server after creating a user.
Unless you have already set up a data store, Express Gateway will use an in-memory data store and all your users will be deleted if your process is killed.
$ eg users create
? Enter username [required]: val
? Enter firstname [required]: Valeri
? Enter lastname [required]: Karpov
? Enter email: [email protected]
? Enter redirectUri:
✔ Created c25fe037-30bb-42f7-9f3a-0264dcd60d14
{
  "firstname": "val",
  "lastname": "karpov",
  "email": "[email protected]",
  "isActive": true,
  "username": "val",
  "id": "c25fe037-30bb-42f7-9f3a-0264dcd60d14",
  "createdAt": "Wed Aug 16 2017 22:08:07 GMT-0700 (PDT)",
  "updatedAt": "Wed Aug 16 2017 22:08:07 GMT-0700 (PDT)"
}
Now that you have done that, you need to create 2 credentials for this user: an OAuth2 credential, and a basic-auth (password) credential.
Express Gateway has a one-to-many relationship between users and credentials, so a user can have multiple credentials of different types (OAuth2, key-auth, basic, etc.). As illustrated below, you create an OAuth2 credential and a basic-auth credential with password “bacon”. Note that password doesn’t show up in the output of eg credentials create -t basic-auth, that’s for security.
$ eg credentials create -c val -t oauth2
✔ Created val
{
  "isActive": true,
  "createdAt": "Wed Aug 16 2017 22:08:13 GMT-0700 (PDT)",
  "updatedAt": "Wed Aug 16 2017 22:08:13 GMT-0700 (PDT)",
  "id": "val",
  "secret": "45e94fce-1524-4fbf-89b9-57a157079db7"
}
$ eg credentials create -c val -t basic-auth -p "password=bacon"
✔ Created val
{
  "isActive": true,
  "createdAt": "Wed Aug 16 2017 22:08:21 GMT-0700 (PDT)",
  "updatedAt": "Wed Aug 16 2017 22:08:21 GMT-0700 (PDT)",
  "id": "val"
}
The last step is where you need to create an application, or “app”.
The app represents a consumer of your API.
Similar to how an app might use Facebook login and request access to the user’s photos, an Express Gateway app will log in against Express Gateway and receive permission to access a certain set of API endpoints. To create an app, you need to specify an associated user, a name, and a redirect URI, which is the URL the user will be directed to after successfully logging in.
$ eg apps create -u val
? Enter name [required]: testapp
? Enter redirectUri: http://google.com
✔ Created 84828eee-2832-4ecd-8155-008fbea0f485
{
  "name": "testapp",
  "redirectUri": "http://localhost:8080/ip",
  "isActive": true,
  "id": "84828eee-2832-4ecd-8155-008fbea0f485",
  "userId": "val",
  "createdAt": "Wed Aug 16 2017 22:08:38 GMT-0700 (PDT)",
  "updatedAt": "Wed Aug 16 2017 22:08:38 GMT-0700 (PDT)"
}
Let’s Walk Through the OAuth2 Flow
You’ve set up the necessary objects, now let’s talk a walk through the actual OAuth2 flow using Chrome and cURL. You’ll notice that if you visit http://localhost:8080/ip in Chrome you’ll get an ‘Unauthorized’ error message as shown below.
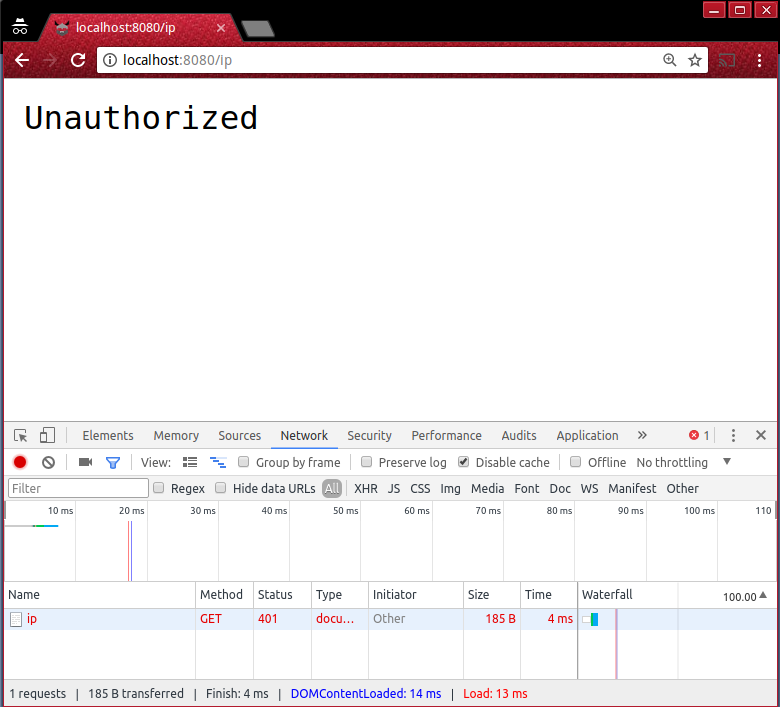
Your gateway.config.yml file protects the /ip endpoint behind OAuth2 middleware, so you need to get an access token by walking through the Express Gateway OAuth2 flow.
To get started, you need to visit the /oauth2/authorize endpoint and specify the following parameters in the URL query string:
- response_type: String containing either ‘bearer’ or ‘token’. For this example you’ll use ‘token’.
- client_id: String containing the id of your app from the output of eg apps create -u val. In this case, ‘84828eee-2832-4ecd-8155-008fbea0f485’, but it will be different for you.
- redirect_uri: String that must match the redirectUri you specified when running the eg apps create -u val command.
So, here’s how the full URL looks:
When you go to this URL, you should be redirected to a login screen. You can configure the UI later, and so for this article you’ll just use Express Gateway’s minimal built-in login screen.
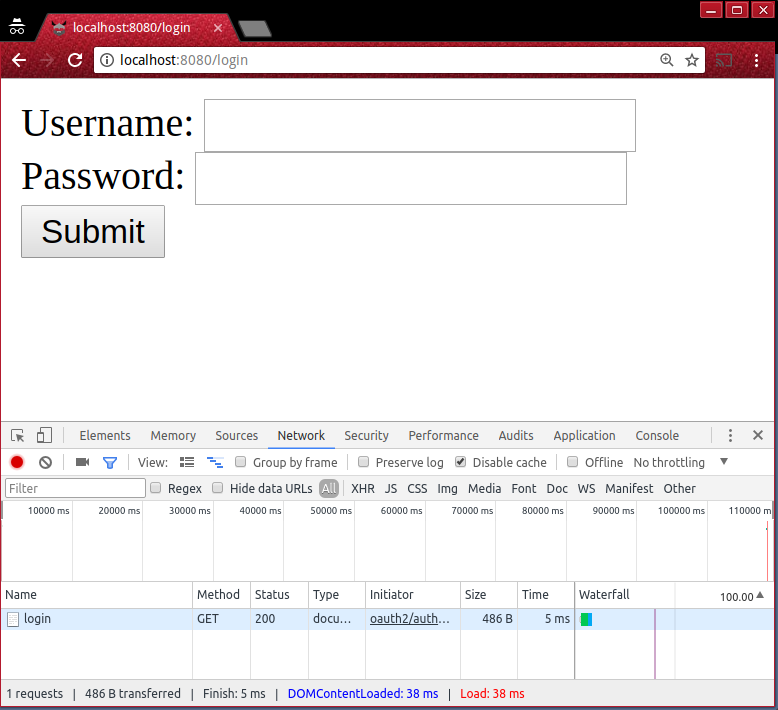
Enter in the username and password you entered when you ran eg users create. (If you’re following this article exactly, the username will be “val” and the password will be “bacon”.)
Then, you will get redirected to a page that asks you to authorize your app ‘testapp’ to access your account.
In some other more advanced applications, this is also where Express Gateway will ask for other permissions (scopes).
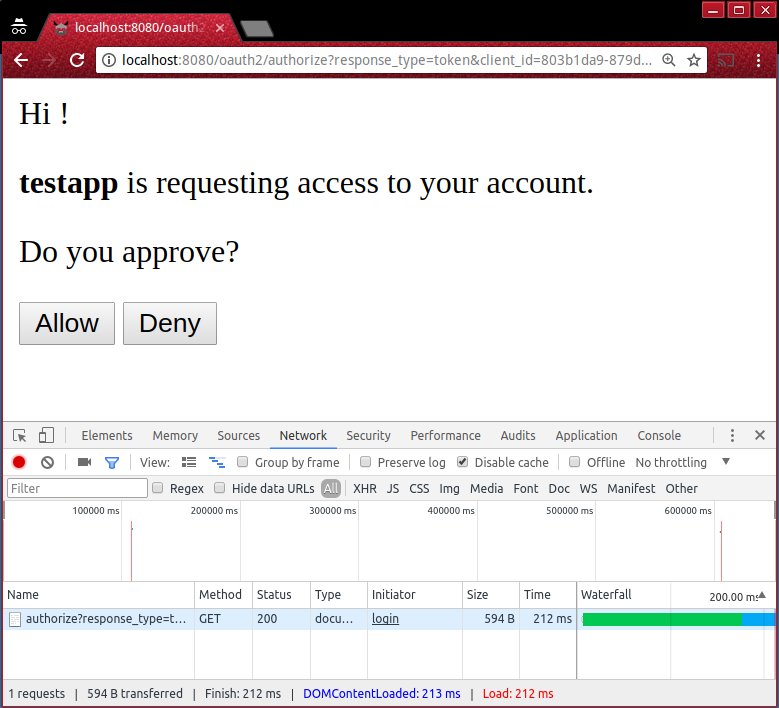
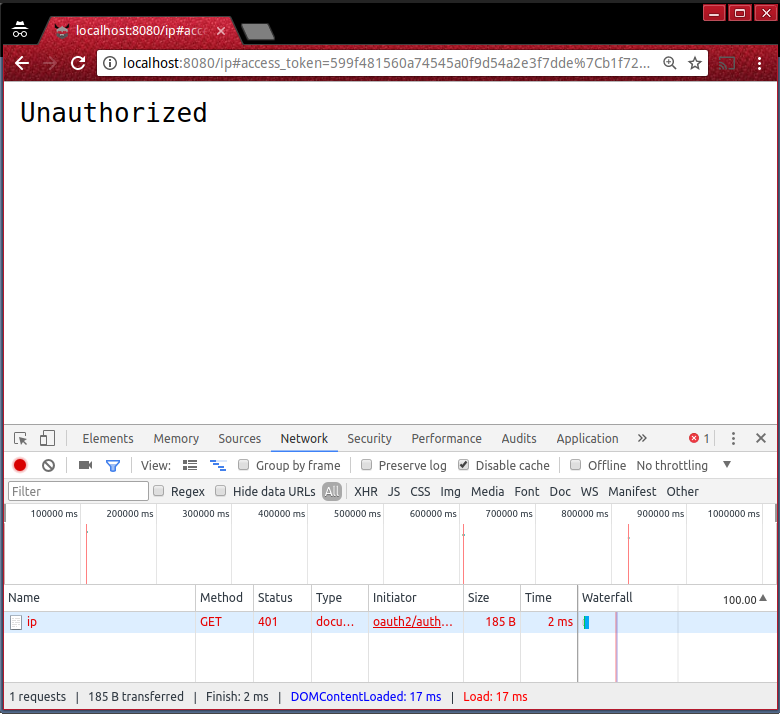
Click the ‘Allow’ button to continue the flow and you’ll get an ‘Unauthorized’ error.
Don’t panic, you didn’t do anything wrong, this is actually the right behavior.
OAuth2 is all about granting API access to client apps, and does so by putting the access_token in the URL.
This is the access token you use in the Authorization header in your HTTP requests to authenticate to the OAuth2 policy. Your app will have to do that on its own, but, in the interest of keeping this example lean, you’ll just use `curl.
Copy the access_token from the URL bar. The access_token is URI-encoded, so first decode it using Node.js’s shell.
$ node
> decodeURIComponent('599f481560a74545a0f9d54a2e3f7dde%7Cb1f7252fe6f24a0d98d98cc87693579c')
'599f481560a74545a0f9d54a2e3f7dde|b1f7252fe6f24a0d98d98cc87693579c'
>
Next, use curl to make an HTTP request with the token in the Authorization header as shown below:
$ curl -H "Authorization: Bearer 599f481560a74545a0f9d54a2e3f7dde|b1f7252fe6f24a0d98d98cc87693579c" http://localhost:8080/ip
{
  "origin": "76.220.52.187"
}
$
And we’re done! You’ve successfully generated an access token through Express Gateway’s OAuth2 flow and used it to make an authenticated request!
In this example you used Express Gateway as both the auth server (the server requesting auth) and the resource server (the server granting access to the API).
However, did you know that Express Gateway can also serve as an auth server for an external API?
This means that you can add OAuth2 permissions on top of any API. Now you can read up on scopes so you can control which portions of your API your app has access to.
Wrapping Up
One of the biggest things an API gateway can do for you is centralize the authentication for your various microservices. And Express Gateway makes this process extremely straight forward. Take a look at the documentation and give it a try!
Originally posted on www.lunchbadger.com.
More Resources
- Join the community on our Gitter channel
- Learn more about upcoming features and releases by checking out the Express Gateway Roadmap